Creation and editing of size table based on body measurements
On this page you can create or edit size tables, using body measurements to perform the calculation.
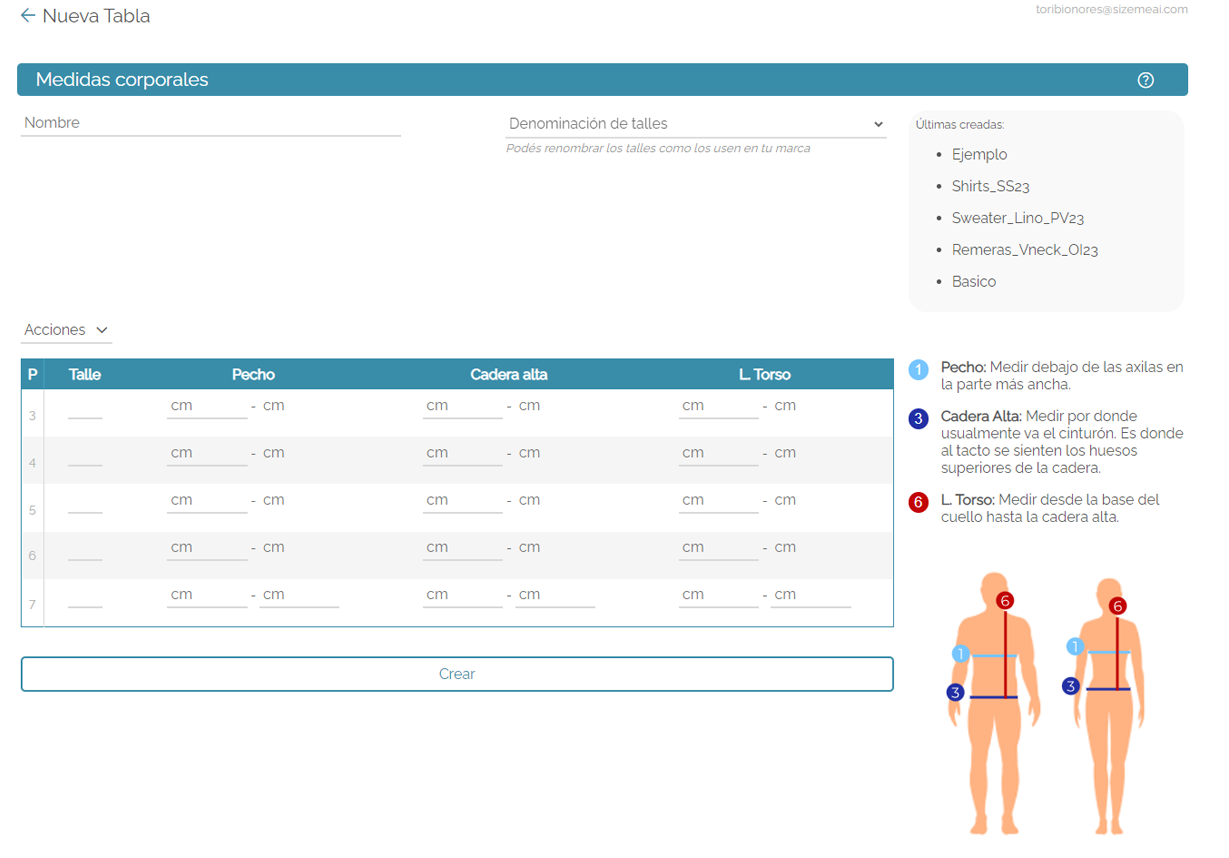
Table data
Contains the size table information.
Name: This is the name that the size table will have.
Size designation: You have the option of choosing the default sizes, which range from XXS to XXXL or from 34 to 48, or, if your brand uses another denomination (for example from C to XXG) you can modify the "size" column which will generate a personalized denomination that will be saved so that you can also use it for other tables.
Right sidebar
On the right you can see the QR and its button to try the size chart. Below that is an explanation on how to measure each of the chosen measurements along with an explanatory drawing.
The size table
Below you will find a table that contains a column for the name of the size (for example: XL) and a row for each measurement to take into account, each of these has a minimum measurement and a maximum measurement, the latter is completed automatically when entering the minimum measurement of the next size and it is only necessary to complete it in the last size.
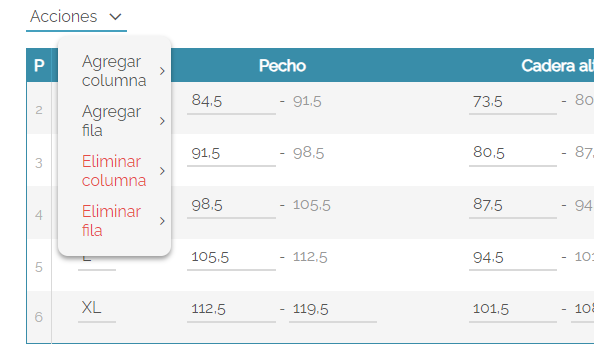
Using the actions button in the measurement table you can perform the following tasks: Add column, Add row, Delete column, Delete row.
Add SKUs
Lastly: Remember to add your clothes! Without them the button will not appear. You can add one by one on this screen, or upload a single column csv, where each row is a SKU.
Remember to save the changes.
Remember to refresh the integration.
For the changes made to size tables and garments to have an effect on your integration, you need to refresh it. Although this process is carried out periodically automatically, you have the possibility of doing it at any time from the page Manage my integration.